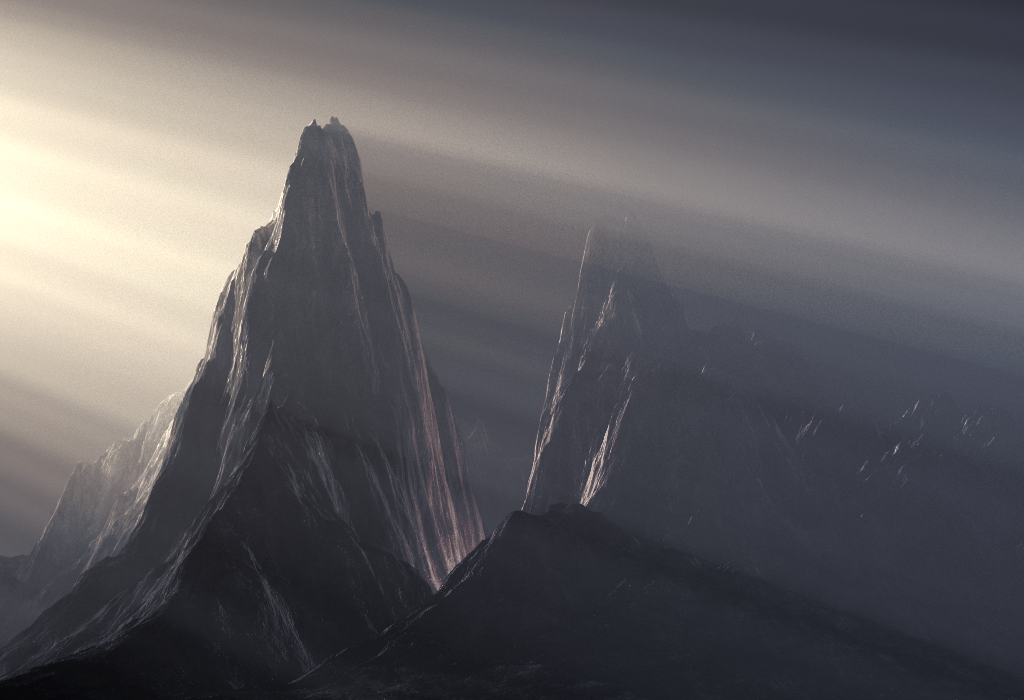
Being an artist member of the Cycles module of Blender, every release I get to make pretty pictures to illustrate the new features in the release notes. This time was of course volumetrics.
For now, getting data from smoke simulations is not possible*, so the next most obvious demonstration are some epic light beams.

Meh.
I tried a few things, but most of them were pretty abstract and could probably be done with only some compositing.
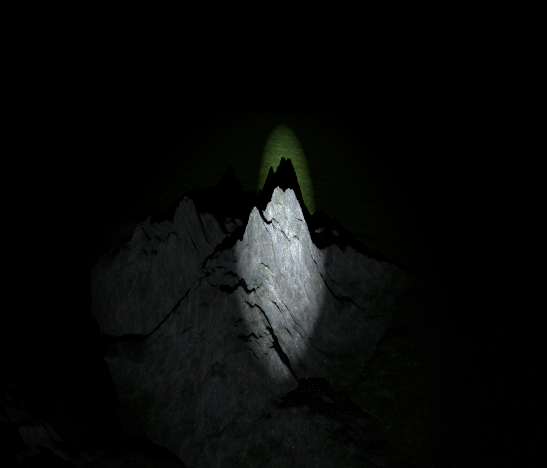
So in the end, I decided to make some kind of epic mountain complete with surreal god rays casting huge shadows over an ominous landscape.
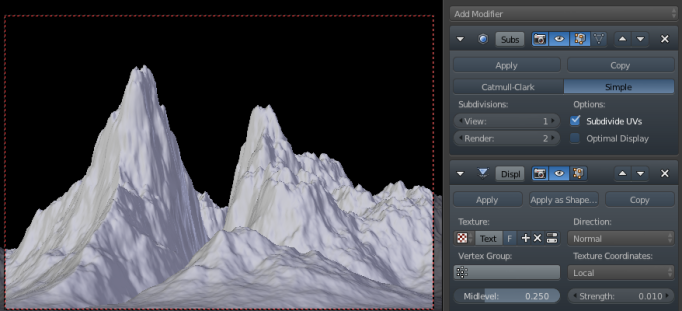
Starting with some geometry generated by the one and only ANT Landscape addon, I added a displacement modifier using a Voronoi F2-F1 cloud texture to give it a bit of detail:

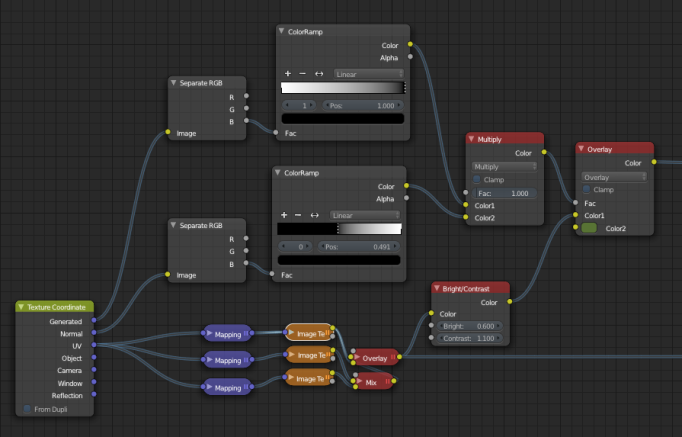
The material for the terrain is fairly simple too – just some rock textures mixed together to get the colour and detail I want, and some normal+height mask to put some greenery on the plane below the mountain (though you can barely see this in the render)

The world material is a simple Volume Scatter shader with a white colour, 0.4 density and 0.0 anisotropy. 0.4 for density is actually really high for the world shader, but I used an extremely bright light to punch through it.

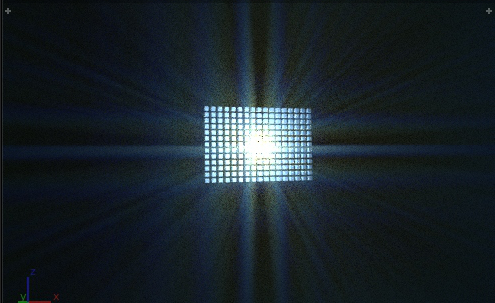
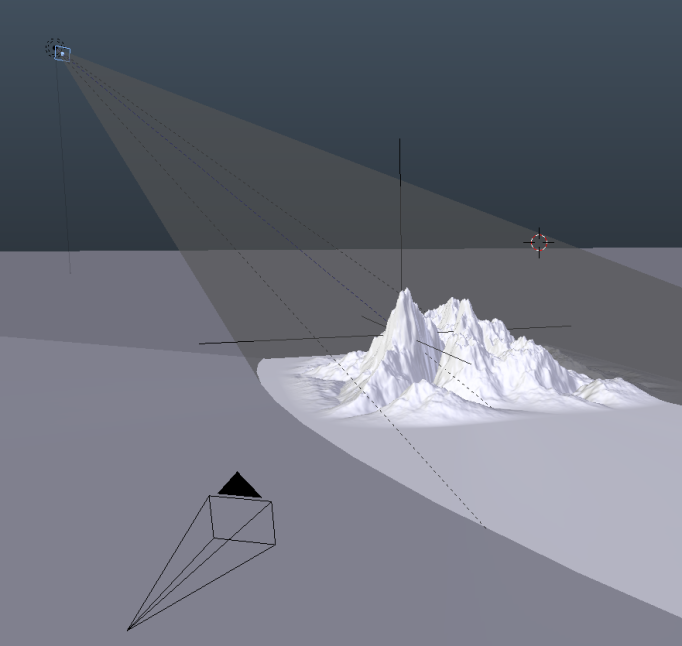
The light setup is where it gets interesting:

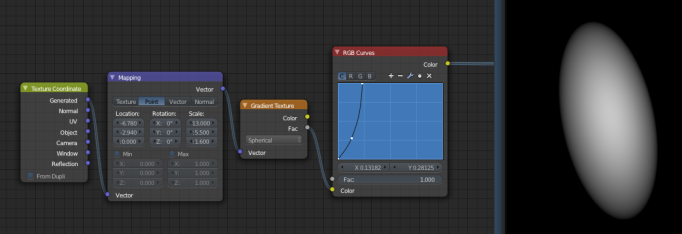
It’s a single spot lamp really, but I wasn’t happy with the falloff from the edge of the light’s influence to the center, so I placed a semi-transparent plane in front of the light that allowed me to create exactly the falloff I want, and also to create an elliptical shape instead of the normal circular shape of spot lamps. This really allowed me to focus the light on a single point and create very dramatic shadows in the world volume itself. Without doing this, too much light was scattering in front and behind the mountain, making hard to notice that the mountain was casting a shadow at all.


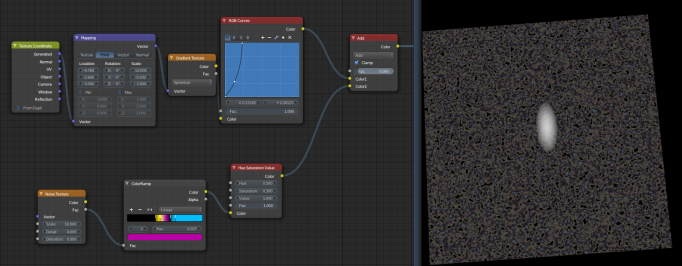
Finally, the light ray was pretty boring and quite obviously came from a plain spot lamp, so I added a noise texture to the plane in front of the lamp. This breaks it up and creates all those fancy rays of light instead of just one.

The noise is pumped through that ramp just to give the light a bit of colour variance. I knew I was going to desaturate it heavily in the compositor later, but I still wanted some subtle variance.
A little bit of compositing later and we’re done :)
One thing I noticed was that volume rendering is surprisingly fast. Doing the final render only took about an hour on my 2600K 2.4GHz i7 cpu, which isn’t much slower than your average cycles render. Sure there’s only one light and it is an homogeneous volume, but I was really expecting much worse.
Great work from Brecht and the rest of the gang as usual :) One step closer to being a true production-ready renderer.
* Though I’ve yet to try this addon.


