Commonly Ignored Feature #4: UVs are Colours

Not just UVs, but any texture coordinate.

tex_uvs


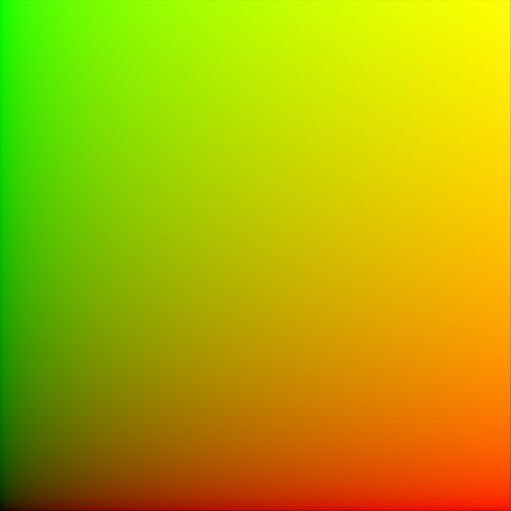
If you connect the UVs of an (unwrapped) plane to a shader’s colour, this is what you’ll see. Basically, texture coordinates are simply an ‘image’ of sorts, where the red value corresponds to the X-axis, and the green value corresponds to the Y-axis (and for 3d coordinates like Generated or Object, blue is the Z-axis.)

Why do we care?

It allows us to manipulate these coordinates as if they were colours (which I suppose they are):

tex_distort


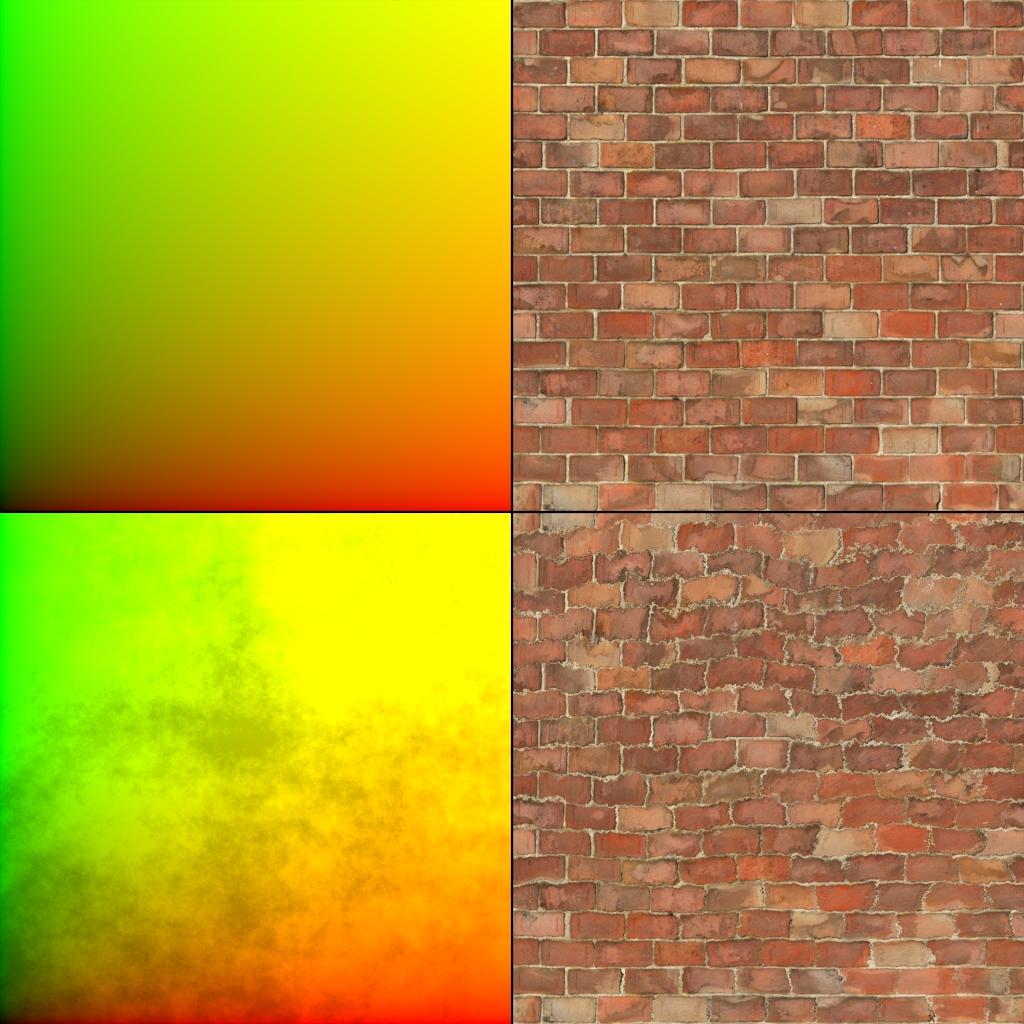
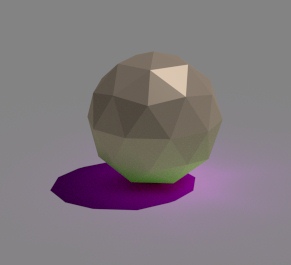
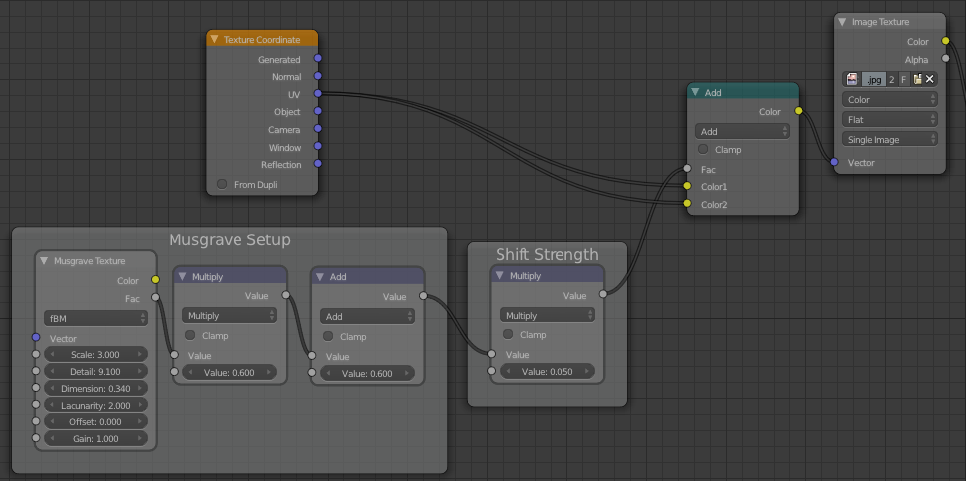
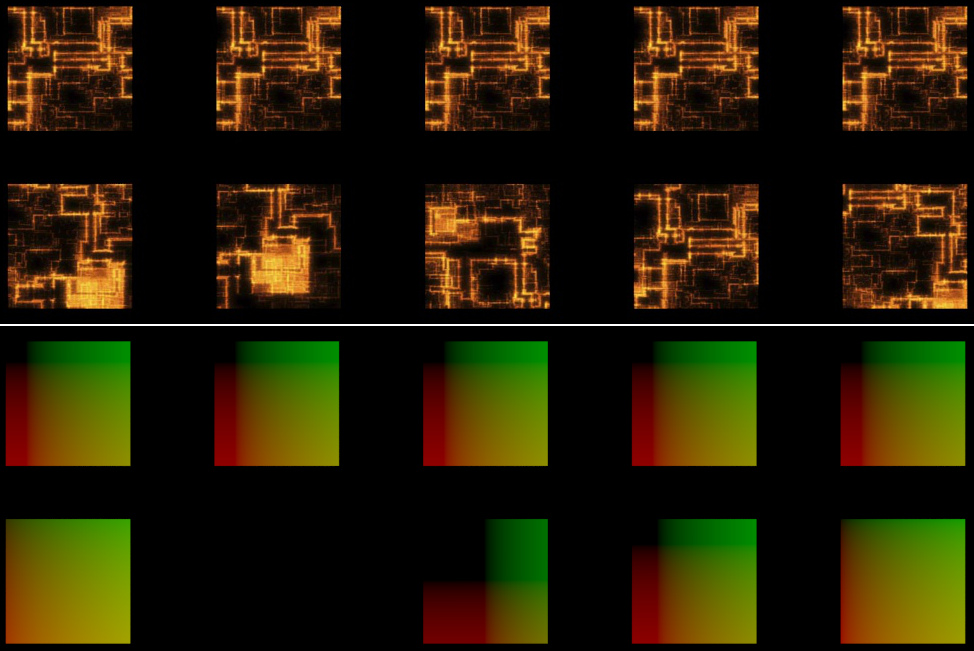
Here I’ve simply added a Musgrave texture to the UVs, and plugged that into the Vector input of the image texture:

tex_shift_nodes


Don’t forget that, except in the case of shaders, a socket’s colour is only a visual indication of the data it gives/takes and not a strict law – vectors and colours are essentially the same thing, three values, hence we can mix them up and use them together.

But those bricks look ugly you say? Well yeah. A more practical example would be to use the Random output of the Object Info node (yeah, again) to give each object (which have the same UVs) different offsets – so if you have a billion objects that are all the same, an easy way to break up the repetitiveness is to change the texture coordinates of each of them randomly.

tex_shift


That’s all folks!

I’m trying to post these ‘Commonly Ignored Features‘ twice a week, so let me know if you think of something I could share!

Commonly Ignored Features #1: Multiple importance sample

For lamps and materials it’s on by default, so most people tend to ignore it. In certain cases it can help to turn it off, but most of the time what you really want to do is turn it on for Environment lighting.

MIS

From the wiki (which I wrote ;) ):

Multiple Importance Sample: Enabling this will sample the background texture such that lighter parts are favoured, producing less noise in the render. It is almost always a good idea to enable this when using an image texture to light the scene, otherwise noise can take a very long time to converge.

If you’re skeptical about the Importance of this (see what I did there?), check out this comparison:


MIS off vs on

Both images were rendered for 25 seconds, the left did 1500 samples in that time, the right only 1000 but clearly produced a cleaner image.

If you’re using a particularly high res HDR, try increasing the Map Resolution, still keeping in squares of 2 (256, 512, 1024…). It’ll probably produce less noise, but at the cost of memory and render speed. Just play with it and see what gives the least noise for the render time.

Ray Depth

Thomas Dinges’ GSoC has shown some pretty awesome results for us Cycles fans, my favourites so far being the Wavelength converter and Separate/Combine HSV nodes (finally right?), but those are fairly simple additions.

The real magic comes in with the Ray Depth output of the Light Path node. The potential of this is pretty awesome, allowing control of what is shown or calculated on which light bounces. This could be used to get rid of some pesky fire flies, reduce noise from having many sources of light, or simply to have some fun:

2013-07-18_21-13-12Here is a slightly orangy sphere, but on the first light bounce it becomes really pink, and on the third suddenly it’s green!

Pointless yeah, but like I said, potential!

After some initial tests, it seems it doesn’t really give all that much of a speed up in render time (in fact in some cases it was slightly slower, but only slightly), but used properly I think it could help reduce noise quite significantly. For example, in a well lit room with a thousand candles: the candles don’t really need any of their light to bounce, direct light only would be fine. But any other sources of light probably still need a couple bounces to fill the whole room.

When it’s merged to trunk, expect another post with some proper documentation on how and where to use it :)

If you’re super eager to use it right now, just use a Math node on Greater Than or Less Than (depending on the use) to get a mask of how many bounces are needed – for example have a mix shader with Glossy on top and a Diffuse on the bottom with the Ray Depth and a Greater Than 1.9 to have a glossy material that is seen as a diffuse one after two bounces (It’ll look pretty much the same, but with potentially less fireflies). And yeah Thomas agrees that we need an “Equal To” mode in the Math node ;)