Adaptive Samples is Coming!

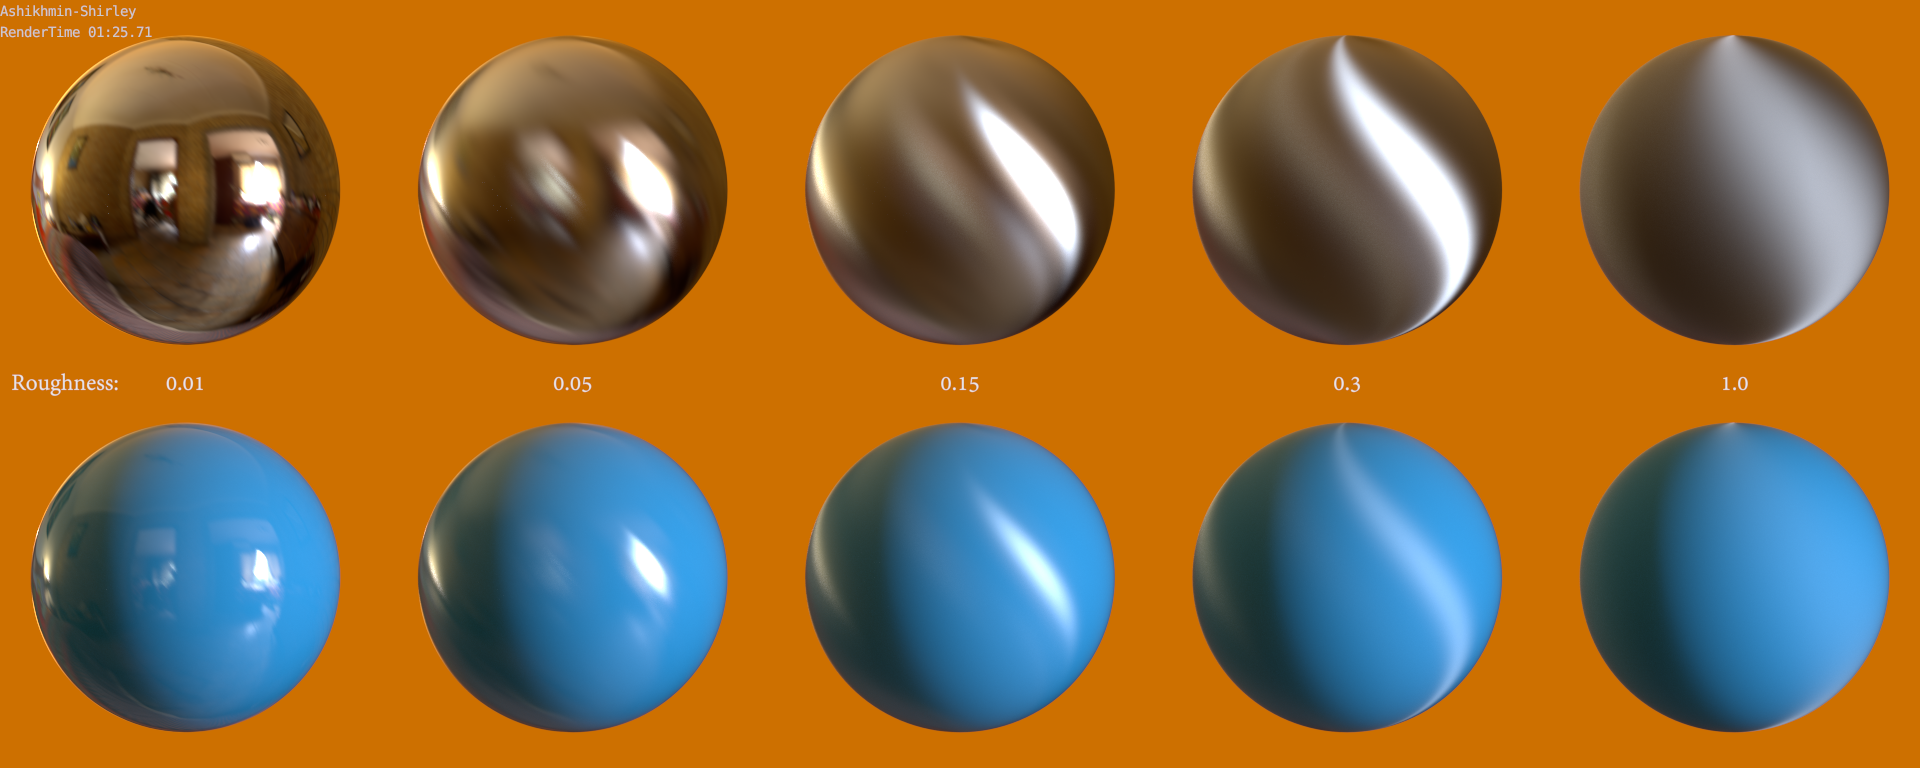
Check it out! https://developer.blender.org/D808

A patch for adaptive stopping and sample distribution has been made off the massive metropolis sampling patch, so I’m guessing that sometime in the next few releases we’ll see it merged to master :)

What is all this you ask? To quote from the patch:

Adaptive stopping: For every tile, the remaining error is estimated after a certain number of samples … Once the error is below the threshold, the tile is stopped. In case the maximum amount of samples per tile is reached, the tile stops as well, even if the threshold is not reached yet. This does not affect the individual pixels in the tile, that’s what adaptive distribution is for.

Adaptive distribution: If this option is enabled, the samples inside every tile are also distributed accordingly to noise levels. Once the warmup interval is over, an importance map is generated and samples are drawn from it (this happens on the CPU even for GPU rendering). This helps mainly for big tiles (usually >32×32) with different levels of noise, for example, at the edge between scene and background.

In retrospect, the name for this blog was a pretty terrible idea.

Ashikhmin-Shirley Distribution

I know 2.71 hasn’t even officially been released yet, but in 2.72, there’ll be a new distribution model for glossy shaders, Ashikhmin-Shirley, and all three models have now been made available for the anisotropy shader too. I played around a bit and came up with this little comparison:

(Best to open each of these in a new tab to compare them easier)

Anisotropic Shader

Ashikhmin-Shirley:
Continue Reading…

Staggered Texture Mapping

One useful feature that a lot of other 3d apps have is something called ‘Staggered’ tiling. Instead of just tiling an image normally, it offsets every second row so that it’s not quite as obviously tiled. The left image above is regular tiling, and the right one is staggered.

So as to be a true fanboy, here’s how to acheive the same thing with nodes in Cycles (and can probably apply to BI as well)

A short explaination: Remember that UVs can be manipulated as colours? Once you’re used to that, the possibilities are endless. This node setup takes the red channel (the X axis), rounds it to whole numbers so that there are incrementing solid blocks of colour for every repeated UV space, and then adds that to the green channel (the Y axis) so that it’s offset, staggered.

If you want to stagger it the other way, it’s just a matter of swapping the R and G channels: