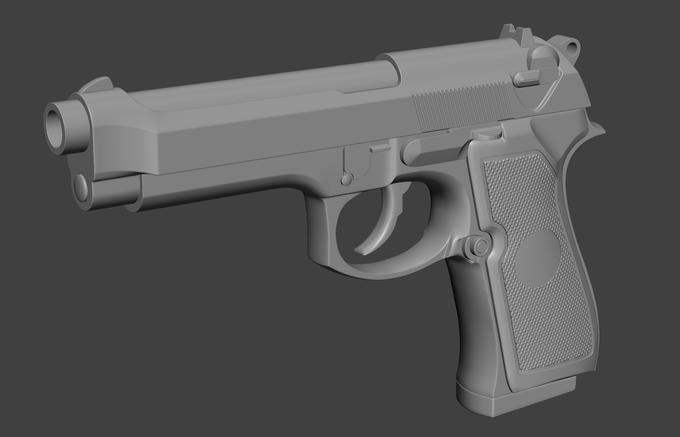
Beretta M9 (wip1)

Currently, I’m on a pretty terrible streak of not finishing any personal projects, but hopefully I’ll actually end up finishing this one. Maybe.

So far I’m mostly happy with the modeling, although there are a few finishing touches still to add (like the logo in the center of the grip, and a couple bolts and rivets).

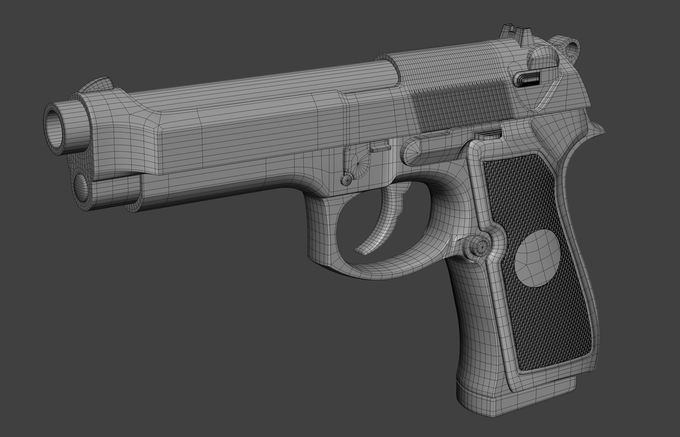
Here’s a rather large wireframe render (click for 3360 x 2160 version):
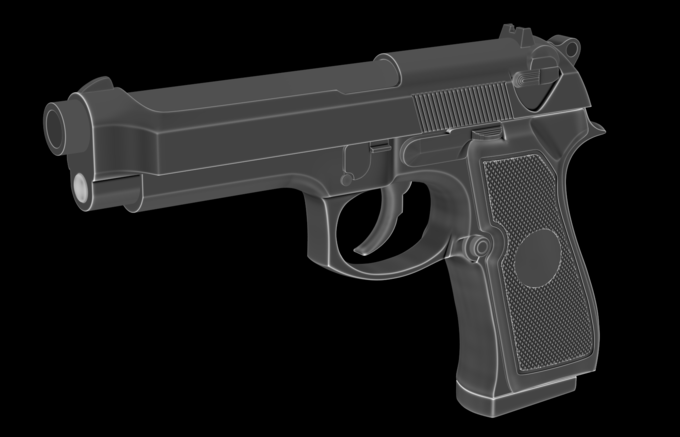
And just for kicks, the pointiness:
I’ll admit, the modeling was pretty hard on this one. For every new bit I started, I thought to myself, “This has to be the hardest part”… until I started the next bit and realized how horribly wrong I was.

Once I’ve shaded and textured it, would anyone be interested in a thorough making-of?
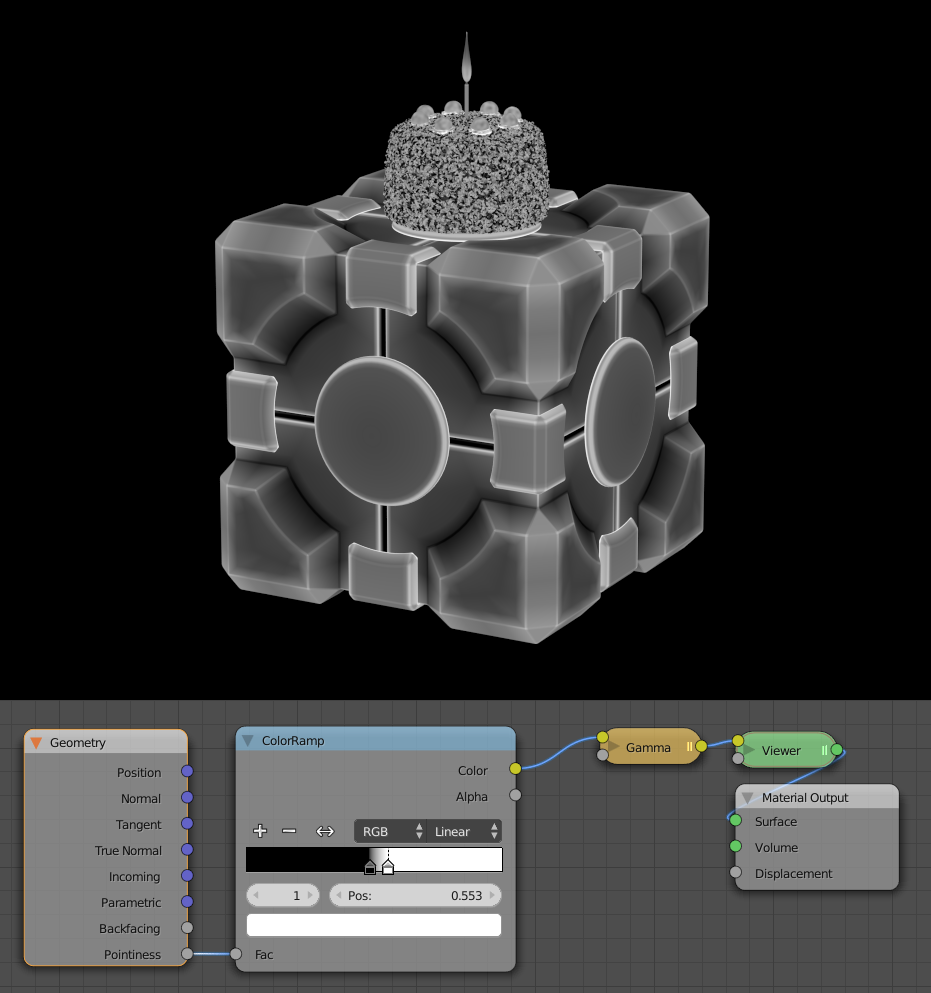
Pointiness Output

pointiness

Woooo! I have to say I’ve been waiting for this for years!

It’s basically the same as dirty vertex colors, but on the final geometry (after modifiers) and without all the hassle of adding it to every single mesh.

The commit from Sergey [227a9407]:

Cycles: implement pointiness geometry attribute

This attribute means how “pointy” the geometry surface is, which allows to do
effects like dirt maps and wear-off effects on render geometry. This means the
attribute is calculated for the final mesh which means no baking (which implies
UV unwrap) is needed. Apart from this the behavior is quite close to how vertex
dirty colors works.

The new attribute is available as an output socket of Geometry node.

There’s no penalty for the render time, only some delay on scene preparation
(the delay is linear of the mesh complexity).

Reviewers: brecht, juicyfruit

Differential Revision: https://developer.blender.org/D1086

Commonly Ignored Feature #16: Randomize Transform

Ever wanted to randomly position a bunch of objects? Of course you have, and like me, you probably resorted to using Proportional Edit’s random falloff. Such cavemen we are. Or maybe it’s just me.

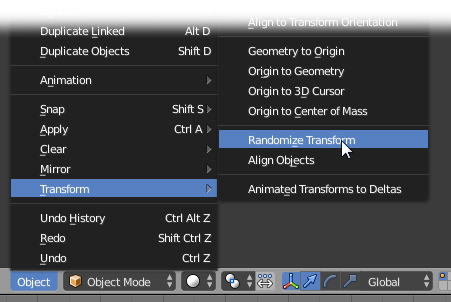
Turns out, there’s a function just for this, and it’s been around for years.

2015-01-24_19-23-58

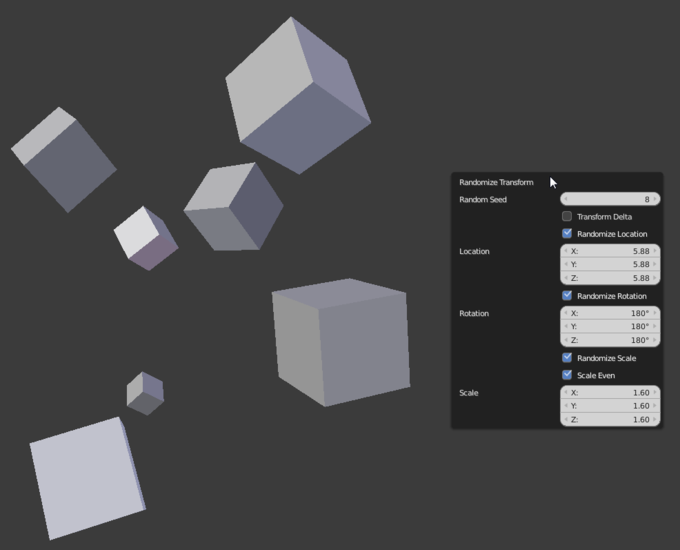
What does it do? Yep, you guessed it! It randomizes the transforms!

When you click it, it may seem like it doesn’t do anything. This is simply because the default settings are all on 0, so you just need to press F6 to show all the options.

Cycles Gets Sphere and Tube Mapping

Sergey Sharybin added sphere and tube mapping options to the image node yesterday:

[12ccac6] Cycles: Support sphere mapping for the image texture

[dda3554] Cycles: Support tube projection for images

This way Cycles finally becomes feature-full on image projections compared to Blender Internal and Gooseberry Project Team could finally finish the movie.

What is it?

Just the same mapping types we’ve had in BI for years ;)

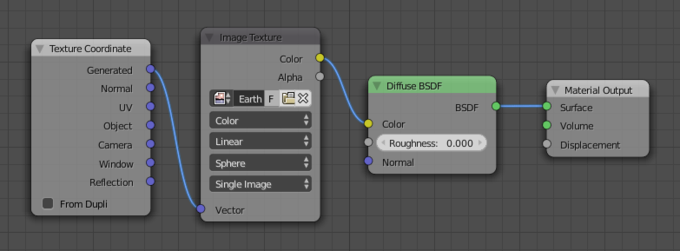
Sphere mapping allows us, for example, to painlessly map a texture of the Earth onto a sphere without needing to do any UV mapping.

How do I use it?

Simply change the projection method on you image node from Flat to Sphere or Tube, and probably you’ll want to use generated coordinates.

Commonly Ignored Feature #15: Depth picker

dofpick

Ok, so this isn’t actually a “commonly ignored” feature as such because it was only added yesterday, but it’s the sort of feature that may be forgotten in future so I thought I’d give it some attention :)

Committed by Campbell (3d503ea):

UI: Eyedropper for view-depth

Currently this is mainly useful for picking camera DOF depth.

  • EKey over a distance field prompts you to pick a depth from the camera.
  • WKey (Specials menu) to pick from the 3D view (when the active camera’s selected).

Since it was only added yesterday, you’ll need to get a build off builder.blender.org, or follow Gaia’s excellent build-it-yourself guide for windows (which I did the other day, it’s so easy). Or, you know, wait until 2.74 comes out.

What is it?

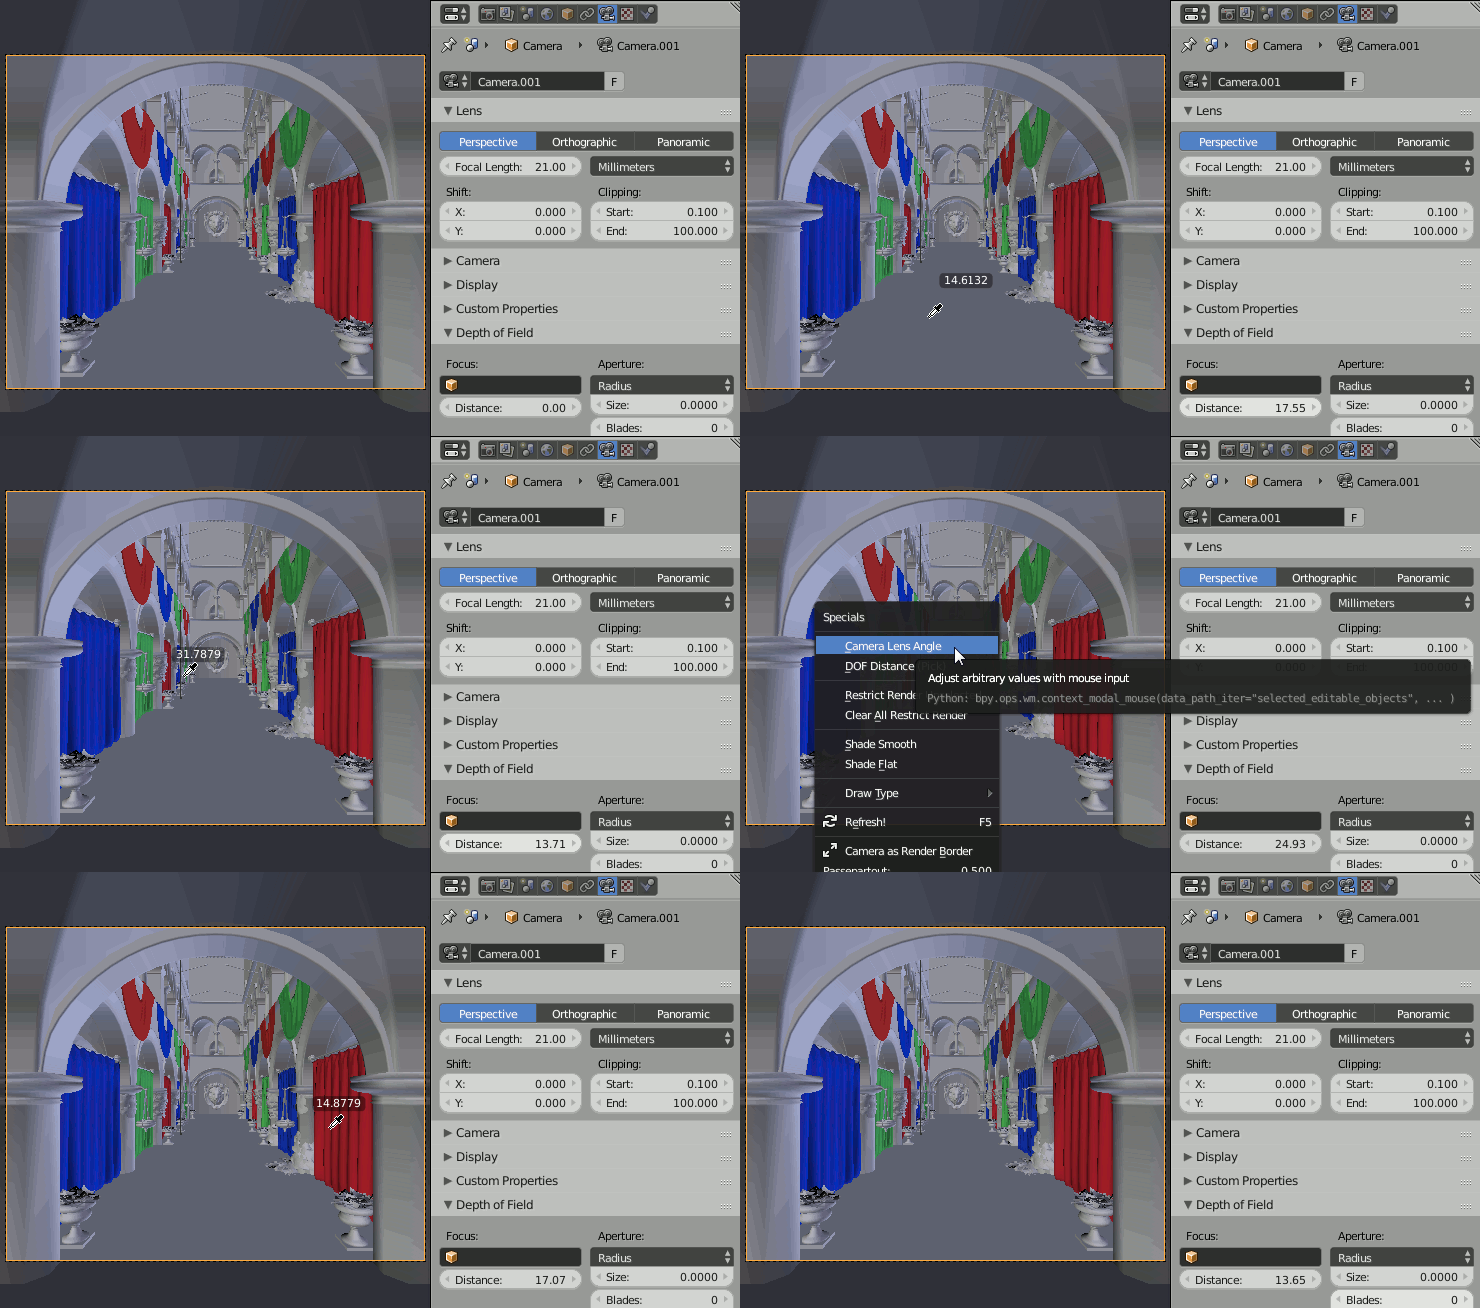
Just a little tool that lets you pick the distance for the camera depth of field :)

How do I use it?

There are two ways:

  1. Hover over the ‘Distance’ property of your camera, press E (just like you normally would to pick colours and values), and then click anywhere in the viewport to select the distance from that point to the camera as the DoF distance.
  2. While looking through the camera, open up the Specials menu with W, and choose “DOF Distance (Pick)”, then click in the viewport to pick that point’s distance.

If you click and drag (like I did in that gif), it’ll sample the average of all the points you moved your mouse over (not the last one!)