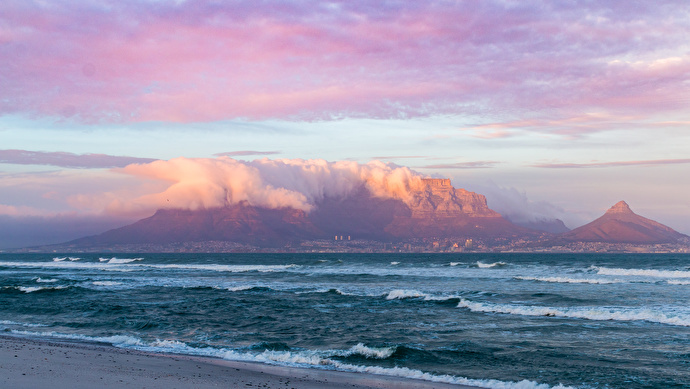
Last week I went down to Cape Town with Rico Cilliers to shoot some HDRIs. What started as an idea for a tiny charity bundle turned into a week-long trip which left me with 30 new potential HDRIs and a respect for wobbly rocks on the beach.

Last week I went down to Cape Town with Rico Cilliers to shoot some HDRIs. What started as an idea for a tiny charity bundle turned into a week-long trip which left me with 30 new potential HDRIs and a respect for wobbly rocks on the beach.
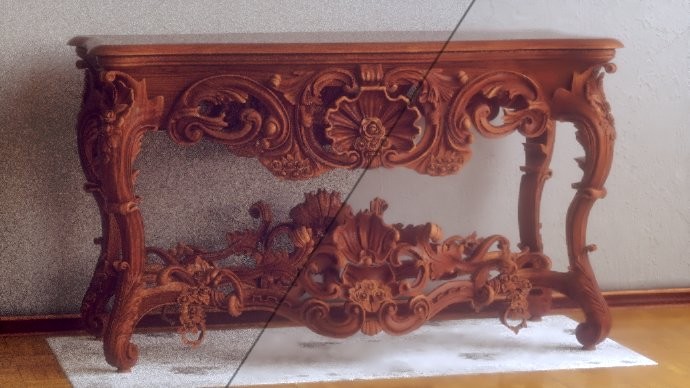
Model by 1DInc
Lukas Stockner has been working on yet another awesome Cycles feature, this time a sneaky method to reduce noise without actually rendering more samples.
Read more and download a Windows build from the BA thread.
To put it simply, “denoising” is a process of analysing your render and trying to shmoosh the noise/grain together and make it look clean.
Update: I’ve written a new HDRI tutorial that covers some more advanced stuff here:
http://blog.hdrihaven.com/how-to-create-high-quality-hdri/
It’s aimed a bit more to professional HDRI creators and assumes you already know the basics, so if you’re completely new to HDRIs you should read this post first :)
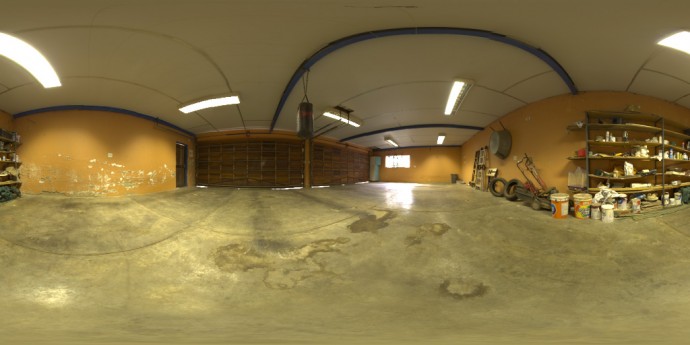
An HDRI. Download it here.
There is no easier or quicker way to light a CG scene than to use an HDRI. They are essentially snapshots of the real world that contain exquisitely detailed lighting information, which can transport your bland CG objects into realistic virtual environments.
Not only do they provide accurate lighting, but they can be seen in the background and in reflections, which makes them all the more immersive.
Creating a high quality HDRI from scratch is quite a complicated task that requires very specific equipment and a meticulous workflow. One mistake like using the wrong focal length or choosing a slow shutter speed can mean all your time has been wasted and you’ll have to start all over again.
I’ve been making HDRIs for a couple of years now, so I hope I can save you some time and experimentation. This is by no means the only way to make an HDRI, but it is a good introduction to the process.
By the end of this tutorial, you’ll have made your very own 360º HDR environment map that can be used to light a 3D scene.
Buckle your seat belts boys and girls, because this is gonna be a long one!
So I started working on this add-on a while back during some freelance work, to help manage a messy production where images were being sourced from several different duplicate locations.
At first it was just a simple list of the images used in the blend file with the file paths displayed, but I soon wanted to be able to edit the paths directly. Then I needed to see which images actually existed, often when opening old projects I found the images had since been moved to a different location. Since many images were in the same location, it helped to add a sort of find & replace feature (the “Replace Source with Target” button) to batch-edit everything. I was also working with some images locally on my own hard drive and needed to copy them to the network drives so other computers could access them, which is what the “Copy Source to Target” button does.
When I started coding this add-on, I didn’t know about the External Data > Find missing files option that already exists in Blender, so I was manually fixing the file paths using this add-on.
Does anyone think this add-on would be useful?
What other features should I add to it?
Some ideas:
You can download the current version here, it’s still very much a work in progress and was thrown together in a hurry :) It might be quite slow to use, since it scans for the file locations on every redraw (a couple times for each time you move the mouse inside the properties editor), so keep the panel closed if you’re not using it.
HDRIs are everywhere these days. If you’ve got a half-decent camera, a tripod and some software you can even make them yourself.
But just like creating art in Blender, being able to do it at all is not the same as being able to do it well.
So, after I created my first crappy HDRI and discovered how challenging it could be, I decided to embark on a quest. I wanted to create the perfect high dynamic range environment map that would give you perfectly accurate and realistic lighting as if you had teleported your CG scene to the actual location of the photo itself.
In truth, this is an unending quest, but I’ve made some fair progress over the years. So without further ado, let me explain…
Just like art, the quality of an HDRI can be a subjective thing, but I think we can all agree that there are a few fundamental attributes that define (although not exclusively) how useful or accurate an HDRI is.
Let’s begin with what is, to me, the most important aspect of any HDR image that you intend to use for lighting.
Update: Things have changed – HDRI Haven is now free for everyone.
So last Tuesday HDRI Haven launched :) Grab yourself a bowl of popcorn and a glass of whiskey because it’s story time!
I’ve been shooting HDRIs for a couple of years now and they’ve slowly started to take over this site a little bit. So sometime early last year I decided I needed to make a proper home for them, a dedicated site that contains only HDRIs.